Are you ready to bring your creative vision to life with precision, speed, and professional-quality results? Whether you're starting a small business or diving into DIY engraving, mastering how to use a laser engraver is the first step toward unlocking your full potential. This laser engraver setup guide will walk you through everything—from machine assembly to choosing the best software—all while spotlighting the top-performing Monport 40W Pro CO₂ laser engraver.


Why the Monport 40W Pro Is Perfect for Beginners and Pros
Before diving into the laser engraver setup guide, let’s take a look at the machine of choice: the Monport 40W Pro CO₂ Laser Engraver, compatible with Lightburn and Laser GRBL software.
This intelligent desktop engraver features:

-
12" x 8" working area (200x300 mm)
-
Built-in air assist to minimize wood discoloration
-
350mm/s max engraving speed
-
0.01-inch engraving accuracy
-
Dual work bed for flexible material placement
-
Red dot guidance for precision targeting
-
Upgraded adjustable laser head and metal rails
With an ideal blend of professional-grade power and user-friendly features, this model is built for makers, artists, and small business owners alike.
Step-by-Step Laser Engraver Setup Guide
Let’s walk through the full process of setting up your Monport 40W Pro and using it with Lightburn software for optimal results.
1. Unboxing and Assembling the Engraver
Unbox all components and place the desktop laser engraver on a stable, ventilated work surface.
-
Plug in the power and USB cables.
-
Connect the air assist system to the nozzle.
-
Install the exhaust fan and position the ventilation hose out of a window or external vent.
✅ Pro Tip: Safety first! Make sure to wear eye protection and operate the machine in a well-ventilated area.
2. Downloading the Lightburn Software
To get started, download either Lightburn (recommended) or Laser GRBL:

-
Visit the Lightburn Software website.
-
Choose the appropriate version for your operating system.
-
Install and launch the software.
Lightburn is one of the most powerful and intuitive software solutions for laser engraving. It supports a wide range of vector and raster file formats and provides robust design tools.
3. Connecting the Laser Engraver to Lightburn
Now that your software is ready:
-
Turn on your laser engraver.
-
Open Lightburn and click Devices > Find My Laser.
-
Select your Monport 40W Pro from the list and follow the prompts to set up your device profile.
This step ensures your laser engraver setup is synced with the software for seamless control.
4. Aligning the Laser with Red Dot Guidance
Using the red dot guidance feature, manually align the laser head with the desired starting point on your material. This ensures pinpoint accuracy before you even press "Start."

5. Setting Up Your Design
Once the connection is made:

-
Import your artwork or use Lightburn's design tools to create a new file.
-
Adjust size, position, and settings such as power, speed, and number of passes.
-
Use the preview feature to simulate the engraving path.
6. Material Placement and Calibration
Depending on the shape of your material, choose between the vented level board or the stabilizer clamp:
-
Clamp irregular items for stability.
-
Lay flat pieces like wood, leather, or acrylic on the level bed.
Don’t forget to focus the laser using the adjustable laser head. Accurate focus equals sharp, clean engravings!
7. Running Your First Job
Click “Start” in Lightburn to begin your project. The built-in air assist will activate automatically to reduce smoke and protect the material surface.
Monitor the engraving to ensure proper ventilation and flawless operation.
Why Software Matters in Laser Engraving
The quality of your engraving is directly linked to the software you use. Lightburn not only simplifies the process but also enhances creative control with features like:
-
Real-time preview and simulation
-
Advanced path optimization
-
Adjustable laser power and speed settings
-
Layer-based engraving and cutting management
When it comes to mastering how to use a laser engraver, understanding and leveraging software like Lightburn is key.
Maintenance Tips to Keep Your Engraver Performing
To get the best from your Monport 40W Pro:
-
Clean the lens and mirrors weekly
-
Empty the debris tray regularly
-
Check air assist nozzle for blockages
-
Ensure ventilation hoses are secure
These small steps will extend your laser’s lifespan and improve every cut and engrave.
Frequently Asked Questions (FAQs)
How do I choose between Lightburn and Laser GRBL?
Lightburn is ideal for users who want a full-featured, paid software. Laser GRBL is a good free alternative but may offer fewer design tools.
Can the Monport 40W Pro cut materials as well?
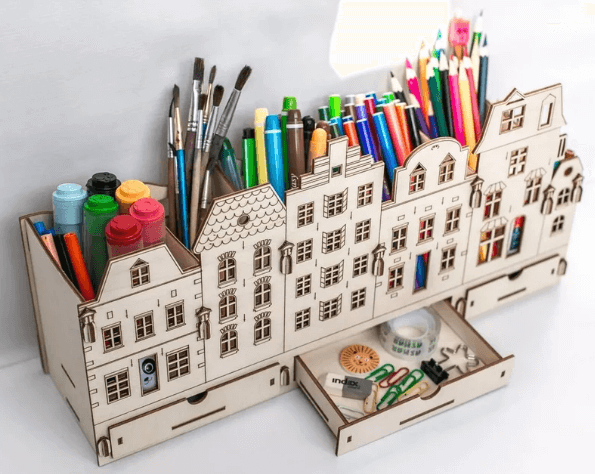
Yes! While it excels in engraving, it can also cut thin materials like plywood, acrylic, felt, and leather with precision.
How long does setup take?
Most users complete their laser engraver setup in under 30 minutes, especially with Lightburn’s intuitive device setup wizard.
What materials can I engrave?
The Monport 40W Pro is ideal for wood, leather, acrylic, rubber, glass, and coated metals. Always check material safety before engraving.