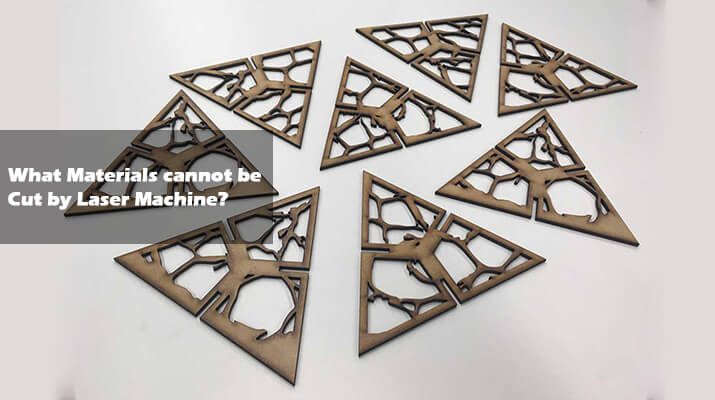
Wood engraving is a popular application of CO2 laser systems, offering precision, efficiency, and high-quality results. The Monport 80W Built-In Chiller CO2 Laser Engraver & Cutter (36" x 24") is an excellent choice for engraving wood, thanks to its advanced features like the built-in industrial chiller, Ruida digital controller, and high-speed engraving capabilities. Follow this step-by-step guide to achieve professional wood engraving results with your Monport laser engraver.


Step 1: Choose the Best Type of Wood for Laser Engraving
Not all woods engrave the same way. Some are better suited for laser engraving due to their grain structure and resin content.

-
Best type of woods for engraving: Birch, maple, cherry, alder, and basswood.
-
Woods to avoid: Highly resinous woods like pine, as they can produce excessive smoke and inconsistent results.
-
Tip: Softer woods engrave faster but may burn more easily, while harder woods require more power but produce crisp details.
Step 2: Prepare Your Design and Material
Before starting the engraving process, ensure your design and material are correctly set up:
-
Create or import your design using compatible software such as LightBurn, RDWorks, AutoCAD, or CorelDRAW.
-
Adjust the design size to fit within the 36" x 24" work area.
-
Secure the wood piece on the engraving bed to prevent movement.
-
Use Red Dot Guidance to align the material accurately and preview the engraving path.
Step 3: Adjust Laser Settings of CO2 Laser Engraver for Wood Engraving
To achieve the best laser engraving results, optimize your laser settings based on the type of wood:

-
Power: 40-70% (adjust based on wood hardness)
-
Speed: 300-600 mm/s (higher speeds for softer woods)
-
DPI (Resolution): 300-450 dpi for fine details
-
Air Assist: Enable the built-in air assist system to reduce charring and keep engravings clean.
Step 4: Focus the CO2 Laser Engraver Using Autofocus
For precise and consistent engraving, use the autofocus feature:

-
Access the control panel and activate autofocus.
-
The machine will automatically adjust the laser head to the optimal height.
-
This eliminates manual testing and ensures high-resolution engraving.
Step 5: Start Engraving Process
Once all settings are optimized:

-
Close the fireproof viewing window to ensure safety.
-
Press "Start" on the Ruida digital controller to begin the engraving process.
-
Monitor the process and ensure that the built-in industrial chiller keeps the laser tube at an optimal temperature to prevent overheating.
Step 6: Post-Processing and Finishing
After engraving, follow these steps to enhance the final product:
-
Remove soot and debris: Use a soft cloth or brush to wipe away residue.
-
Apply finishing treatments: Sand the surface lightly for a smooth finish and apply a wood stain or sealant to enhance durability and appearance.
-
Inspect for precision: Ensure that all engraved details are sharp and well-defined.
Bonus Tips for Optimal Wood Engraving with Monport CO2 Laser Engraver

-
Use masking tape on the wood surface before engraving to reduce burn marks and make cleanup easier.
-
Perform test runs on scrap wood to fine-tune settings before engraving the final piece.
-
Regularly clean the laser lens and mirrors to maintain beam quality and efficiency.
-
Keep the workspace ventilated to reduce smoke accumulation and ensure a safe working environment.
Conclusion
Engraving wood with the Monport 80W Built-In Chiller CO2 Laser Engraver is a straightforward process when you follow the right steps and optimize settings. From choosing the right wood to adjusting laser parameters and post-processing your project, every detail contributes to achieving professional results. By leveraging features like autofocus, built-in air assist, and the industrial chiller, you can enhance precision and efficiency while prolonging the life of your machine. Whether you are a hobbyist or a professional, mastering these techniques will elevate your wood engraving projects to the next level.