





Wood engraving is a practical way to create personalised gifts, decorative pieces and custom products for a small business. With the right preparation and a suitable CO2 laser cutter, even simple wooden items can become products with a unique finish.
However, good results depend on more than the machine itself. The type of wood, surface preparation, engraving settings and design all influence the final appearance.
Whether you are a beginner exploring wood engraving or a small business owner looking to expand your product range, understanding these basics can help you produce cleaner, more consistent results.
How Does Laser Engraving Wood Work?

Laser engraving uses a focused beam to remove or darken the surface of wood, creating a design, image or pattern. A CO2 laser cutter is commonly used for this process because it can engrave and cut suitable wooden materials.
The laser follows a digital design, allowing you to reproduce the same artwork across multiple products. This is especially useful for businesses creating personalised items or small production batches.
For example, a maker selling wooden coasters can engrave names, logos or decorative patterns without manually carving each piece.
What Wood Is Best for Laser Engraving?
The type of wood you choose affects engraving quality, colour contrast and cutting performance. Different materials respond differently to the laser, so testing is important before starting a finished project.
Plywood
Plywood is made from layers of wood veneer bonded together. It is useful for signs, ornaments and decorative products, although the adhesive and quality of the layers can affect engraving results.
Choose plywood specifically suitable for laser processing, and check the manufacturer's material guidance before use.
Solid Wood
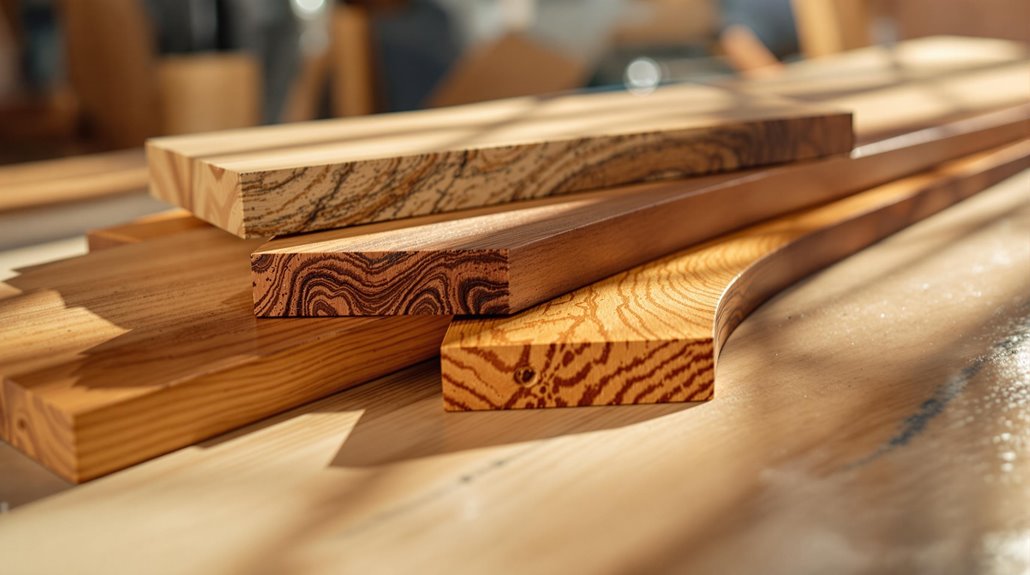
Solid wood offers a natural appearance that works well for personalised gifts, plaques and home décor. Maple, birch and cherry are popular options, but grain patterns can create variations in the engraving.
For consistent wood engraving, choose boards with relatively even surfaces and avoid pieces with excessive knots or irregular grain.
MDF
Medium-density fibreboard has a relatively uniform surface, making it useful for decorative designs and certain craft projects. However, MDF composition varies, so confirm that the material is appropriate for laser processing.
Always check the material's safety information before engraving.
How to Prepare Wood Before Engraving
Proper preparation helps reduce uneven results and wasted material.
1. Check the Surface
Start with a flat, clean piece of wood. Dust, dirt and uneven surfaces can affect how the laser interacts with the material.
Light sanding may help create a smoother surface, particularly when working with solid wood.
2. Test the Material
Before engraving your final product, run a small test on a scrap piece from the same material.
Different wood species, thicknesses and finishes can produce different results, even when the settings remain unchanged.
3. Choose the Right Design
Simple designs often work well for beginners. Clear lettering, bold shapes and balanced spacing can produce attractive results without requiring complicated settings.
For example, a small business making personalised wooden gifts could use a consistent layout for names and dates while changing the text for each order.
What Settings Should You Use for Wood Engraving?
Laser settings influence the depth, darkness and overall appearance of the engraving. The main factors are power, speed and the number of passes.
| Setting | What it affects |
|---|---|
| Laser power | How much energy reaches the material |
| Engraving speed | How long the laser interacts with the surface |
| Passes | How many times the laser processes the design |
| Focus | How accurately the beam is concentrated |
Higher power or slower speeds can create darker or deeper marks, but excessive heat may cause unwanted charring.
There is no single setting that works for every wood type. Begin with the material manufacturer's recommendations, then adjust through controlled testing.
A CO2 laser cutter with adjustable settings gives users more flexibility when moving between different wooden projects.
What Can You Make With Wood Engraving?

The possibilities extend well beyond basic signs. Wooden products can be personalised for gifts, events, home décor and business branding.
Personalised Gifts
Engraved wooden photo plaques, keepsake boxes and name ornaments make thoughtful gifts for birthdays, weddings and special occasions.
Home Décor
Wooden wall signs, decorative panels and custom nameplates can suit different interior styles. Simple typography and natural wood grain often work particularly well together.
Business Branding
Small businesses can use wood engraving to create branded packaging accessories, display signs and promotional products.
For example, a café could offer engraved wooden merchandise, while a handmade gift shop could produce custom items for local events.
How to Choose a CO2 Laser Cutter for Wood Engraving
When choosing a CO2 laser cutter, consider your project size, material requirements and expected production volume.
A machine with a larger working area may help when engraving multiple products in one batch. Adjustable power and speed settings are also useful when working with different wood types.
Other important considerations include:
-
Compatible design software
-
Reliable focusing and positioning
-
Suitable ventilation and extraction
-
Cooling requirements
-
Maintenance and operating costs
A machine should fit your actual projects rather than simply offer the highest specifications.
If you are exploring equipment for your next wood engraving project, check out MonportLaser.ca for your engraving needs.
Key Takeaways
-
Choose wood based on the appearance and purpose of your finished product.
-
Prepare the surface before engraving.
-
Test settings on scrap material before processing finished items.
-
Adjust power, speed and focus according to the material.
-
Use appropriate ventilation and follow machine safety instructions.
Good wood engraving comes from understanding your material and developing a consistent workflow. Small adjustments during preparation and testing can make a noticeable difference in the finished product.
Conclusion
Successful wood engraving starts with choosing suitable materials, preparing the surface and testing your settings. A CO2 laser cutter can help turn simple wooden pieces into personalised gifts, home décor and branded products, but the quality of the result depends on how the machine and material work together.
For beginners, starting with simple designs and small test pieces is a sensible way to build confidence. For small businesses, a consistent process can help reduce waste and improve product quality.
Ready to explore your next wood engraving project? Visit MonportLaser.ca to find options for your engraving needs.
Frequently Asked Questions
What is the best wood for laser engraving?
Maple, birch and other smooth, evenly grained woods are popular for engraving. The best choice depends on the design, desired contrast and material quality.
Can a CO2 laser cutter engrave wood?
Yes. A CO2 laser cutter can engrave and cut suitable wood materials. The results depend on the wood type, thickness and machine settings.
How do you prevent wood from burning during laser engraving?
Use appropriate power and speed settings, ensure correct focus and test the material before engraving. Suitable air assistance and ventilation can also help manage smoke and residue.
Is laser engraving wood profitable for a small business?
It can be profitable when products have consistent demand and production costs are managed carefully. Consider material costs, labour, machine maintenance and selling prices.
What can you make with a wood engraving machine?
Popular projects include personalised coasters, wooden signs, keepsake boxes, ornaments, photo plaques and branded merchandise.


